Editor
Editor
The Editor in reMIDI 3 is a powerful and intuitive feature designed to fine-tune your MIDI compositions with precision. From note selection modes, beat snapping, size adjustments, to intricate pitch and beat shifting, this section of the interface provides the essential tools for detailed manipulation of your MIDI data. It invites you to dive deep into each note, enabling you to adjust, refine, and perfect your musical ideas while fostering creativity in your workflow. Let's delve into each component of the Editor, starting with the View Toolbar.
View Toolbar
The View Toolbar is a multifunctional feature that enhances your editing process in reMIDI 3. It allows you to set the Editor's beat snap amount, set the note selection mode, resize the Editor, and adjust the pad zoom level to suit your needs.
Editor Beat Snap Dropdown Menu
This dropdown menu allows the user to select a specific note snap value for the notes inside the Editor interface. The selected snap value determines how the positioning changes adhere to the beat grid when snapping is enabled, thus controlling the granularity of those changes. A coarser selection would mean broader alignment to the beats, while a finer one would enable more precise alignment.
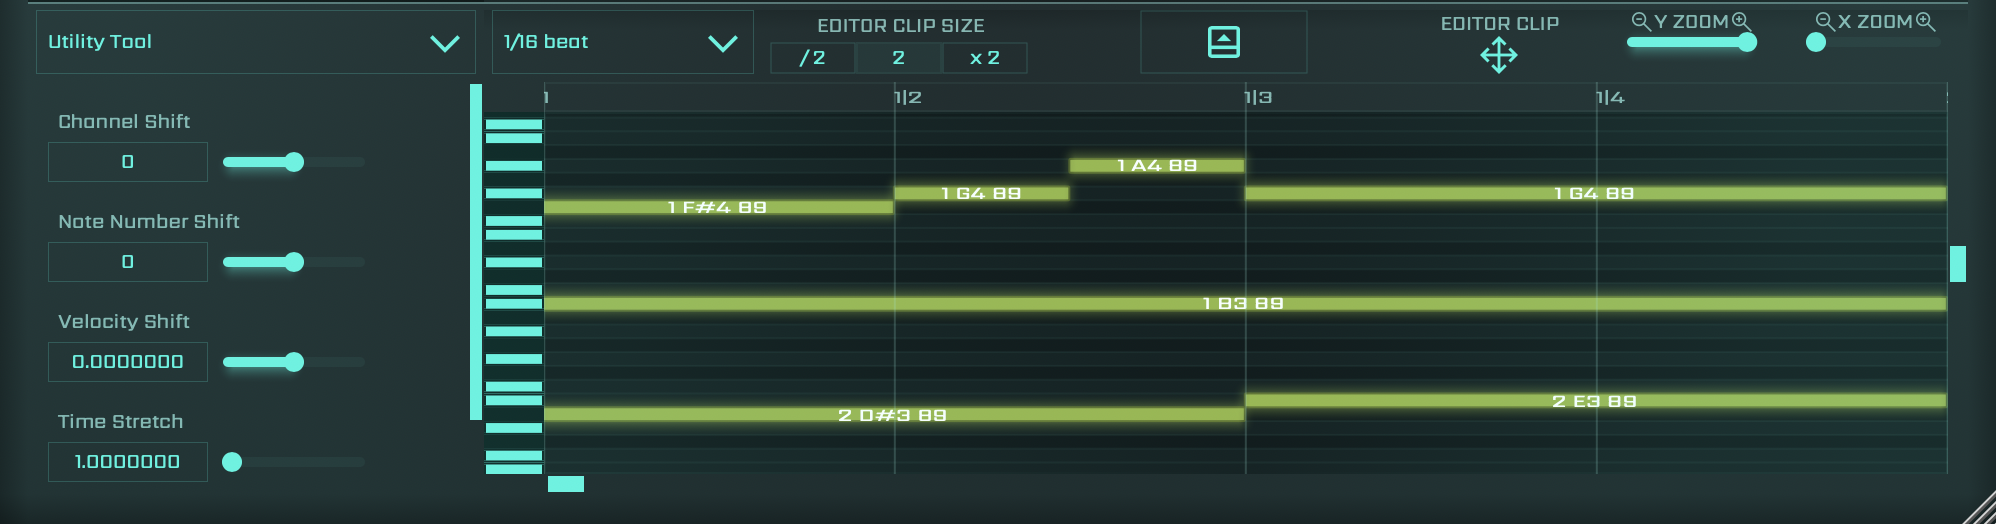
Editor Size Adjustment
Adjust the size of the editor to conform to your workflow needs. Whether you need a more condensed view for concentrated editing or a larger layout for a wider perspective, the Editor Size toggle button provides you with the flexibility you need. It allows you to determine the vertical space the Editor occupies, while also controlling the visibility of the Grid and Previewer. This adaptability ensures that your workspace is ideally set up for your creative pursuits, helping you navigate through your tasks with greater ease and efficiency.
Pad Zoom Level
Get detailed with your MIDI data by zooming in on the pads within the editor, or zoom out for a wider perspective. The pad zoom control in the View Toolbar lets you make intricate adjustments or view the bigger picture, ensuring that no detail is missed.
The View Toolbar's intuitive controls offer the flexibility needed to optimize your editing environment, making reMIDI 3 a highly efficient tool for enhancing your MIDI compositions.
Note Editor
The Piano Roll Editor in reMIDI 3 is a sophisticated interface designed for meticulous manipulation of MIDI sequences stored in each Pad within the Grid of Pads. This guide aims to elucidate the various functionalities and tools at your disposal for precise MIDI editing.
Editor Beat Snap
- Before delving into the plethora of tools and actions available, it is crucial to understand the Editor Beat Snap.
- Utilize the dropdown menu to set the beat snap value, aligning cursor activities to the selected rhythmic increment (e.g., 1 beat, ½ beat, ¼ beat, ⅛ beat, etc.).
- The snap value influences various actions within the Piano Roll Editor, ensuring rhythmic precision in your editing.
Navigating and Editing in the Piano Roll Editor
- Playhead Placement: Click on the timeline header to position the playhead, influenced by the snap value.
- Add New Note: Double-click on an empty space to insert a new note. The placement is determined by the snap value.
- Lasso Selection: Initiate a lasso tool by clicking and dragging on an empty space to select multiple notes.
- Add to Selection: To add a note to your current selection, hold down the Shift key and click on the desired note.
- Move Notes: Adjust the pitch or timing of a note (or selection of notes) by clicking and dragging. This action is affected by the current snap value.
- Resize Notes: Alter the start or end point of a note (or selection of notes) by dragging from its edges when the cursor changes to resize arrows. The snap value also influences this adjustment.
Right-Click Menu Actions
With Selected Notes:
- Split Note: Divide a selected note at the cursor’s position, affected by the snap value.
- Cut: Remove and store the selected notes for potential relocation.
- Copy: Duplicate the selected notes.
- Paste: Insert copied or cut notes at the cursor’s position.
- Delete: Remove selected notes from the sequence.
- Toggle Mute: Mute or unmute selected notes.
- Transpose +12 Semitones: Increase the pitch of selected notes by an octave.
- Transpose -12 Semitones: Decrease the pitch of selected notes by an octave.
- Select All Sharing Pitch: Select all notes with the same pitch.
- Select All Sharing Channel: Select all notes on the same channel.
- Select All Sharing Track: Select all notes in the same track.
- Select All: Select all notes.
- View Velocity Colours: Display notes in colors based on their velocity.
- View Channel Colours: Display notes in colors based on their channel.
- View Track Colours: Display notes in colors based on their track.
Without Selected Notes:
- Create Note: Add a new note at the cursor’s position.
- Paste: Insert copied or cut notes, applicable within different Pads.
Zoom and Scroll
- Y Zoom and X Zoom: Adjust the display detail for easier note manipulation using these sliders.
- Scrollbars: Navigate through the notes using the vertical and horizontal scrollbars.
Editor Clip Size Control
This feature gives you the ability to adjust the size (measured in beats) of the Editor window for the selected clip. It's a handy tool that allows for customization based on your preference or the horizontal workspace requirements. By granting you control over the display scale of your sequences, it aids in visualizing and manipulating your musical elements more effectively, thereby streamlining your creative process.
Export Editor Clip
The Export Editor Clip feature in reMIDI 3 provides a convenient method to transfer MIDI sequences from a chosen pad into your digital audio workstation (DAW) or another preferred location.
To use this feature, select the pad containing the MIDI sequence you wish to export. Then, find the "Editor Clip" icon—represented by four arrows—in the bottom right corner of the Editor.
Click on the "Editor Clip" icon and drag it to your DAW or the designated area for the MIDI sequence. This feature greatly simplifies the process of transferring MIDI sequences, whether you're adjusting your song's arrangement, exploring various sounds, or sharing sequences with collaborators.
The Editor Clip feature enhances your workflow, allowing you to focus more on the creative aspects of your composition and less on data management, embodying reMIDI 3's commitment to an efficient music creation experience.
Continue to the next section to learn all about the new Editor Tools.