Grid
Grid

The Grid section in reMIDI 3 is not only an efficient way to organize your MIDI data but also a robust platform for creative experimentation and detailed arrangement.
By assigning your favorite MIDI samples to individual pads, you can easily access, audition, and incorporate them into your compositions. This sort of "visual sampler" provides a convenient and intuitive way to manage and explore your MIDI sequences.
Each pad can be color-coded and labeled, enabling you to categorize your MIDI samples based on characteristics such as genre, instrument, complexity, or any other criterion that fits your workflow. This makes it easier to navigate through your MIDI library and quickly find the sequences you need.
Beyond organization, the Grid also allows for creative manipulation of your MIDI sequences. You can arrange the pads to map out your song structure or to experiment with different sequence combinations. You can also play multiple pads simultaneously, opening up the possibility for complex, layered MIDI compositions.
By providing these organization and manipulation tools, the Grid enhances your creative process, making it more efficient, flexible, and enjoyable. It serves as a bridge between your library of MIDI sequences and the Previewer, where you can further refine your musical ideas.
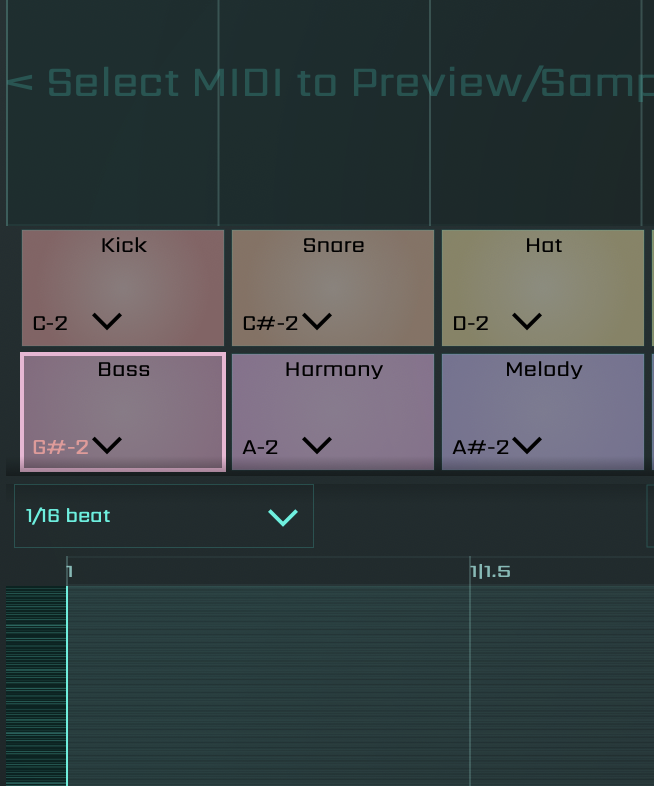
The Grid feature of reMIDI 3 consists of 16 pads, arranged in two rows of eight. The use of reMIDI 3 for sequence triggering cultivates an organized and clutter-free project environment. This set-up allows you to streamline your process by reducing the need to manage multiple MIDI tracks. Instead, you can employ a single track with reMIDI 3, mapping different note numbers to trigger distinct sequences. This strategy not only simplifies your workflow but also eases the handling of intricate compositions.
By detaching the sequencing process from the instrument tracks, reMIDI 3 grants you the capacity to establish reusable templates. This versatility allows you to swap sequences and experiment with a multitude of arrangements without disrupting your instrument settings. As a result, reMIDI 3 fosters an environment that promotes creativity and experimentation, allowing your musical ideas to flourish.
The Grid provides a powerful tool for organizing and manipulating MIDI sequences. By allowing multiple pads to be played simultaneously, it fosters more intricate compositions and creative exploration. This can greatly streamline the music creation process, facilitating complex arrangements to be controlled within a single track.
Now let's take a closer look and explain some specific features:
Pad Menu Options
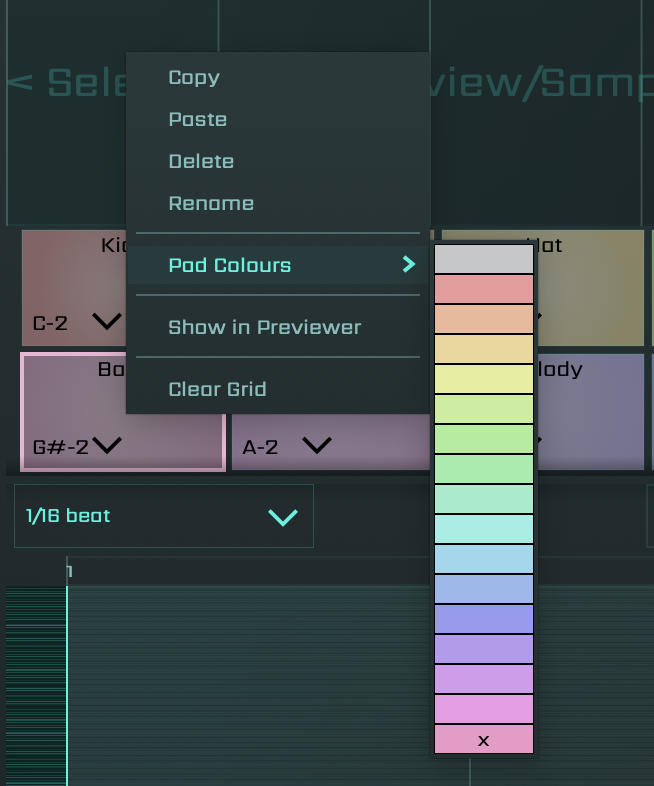
When you right-click on a pad, a popup menu appears with various options:
Copy
This function allows you to duplicate the content of the selected pad, useful for when you want to replicate specific sequences on different pads.
Paste
If you have copied a pad, this option lets you paste the copied content into another pad.
Delete
This function will erase the content of the selected pad, freeing it for new inputs.
Rename
For ease of reference, each pad can be assigned a custom name. Right-click on a pad and select the "Rename" option from the popup menu, then enter your chosen name in the text field. This is especially helpful when managing multiple pads, as it allows for a clear and organized overview of your MIDI composition.
Pad Colours
This submenu option opens up an array of colours from which you can choose to assign to your selected pad, allowing for personalized colour coding. To improve organization and easy referencing, each pad can be assigned a unique colour. Beyond the default grey, you have a palette of 16 diverse colours at your disposal. This feature allows you to visually distinguish and quickly identify different pads, enhancing your efficiency and workflow.
Show in Previewer
This feature reloads the pad's source file back into the Previewer for further exploration within the source of the pad's content.
Clear Grid
This option allows for all data on the grid to be erased, offering a clean workspace for new creations or complete shifts in direction.
Adding Pads
You can populate an empty pad by dragging and dropping the currently selected frame from the Previewer onto any pad.
Playing Pads
Clicking on a pad allows for a quick preview of the MIDI sequence it holds. Furthermore, reMIDI 3 enables you to trigger these sequences by mapping specific note numbers in your DAW's piano roll editor to the reMIDI pads. For instance, if a bassline sequence is assigned to pad 1 in reMIDI 3, a series of C1 notes drawn in your DAW's piano roll editor will trigger that sequence. This direct control allows for intricate interplay and precise control over the playback of your MIDI compositions.
Pad Binding
Auto Bind
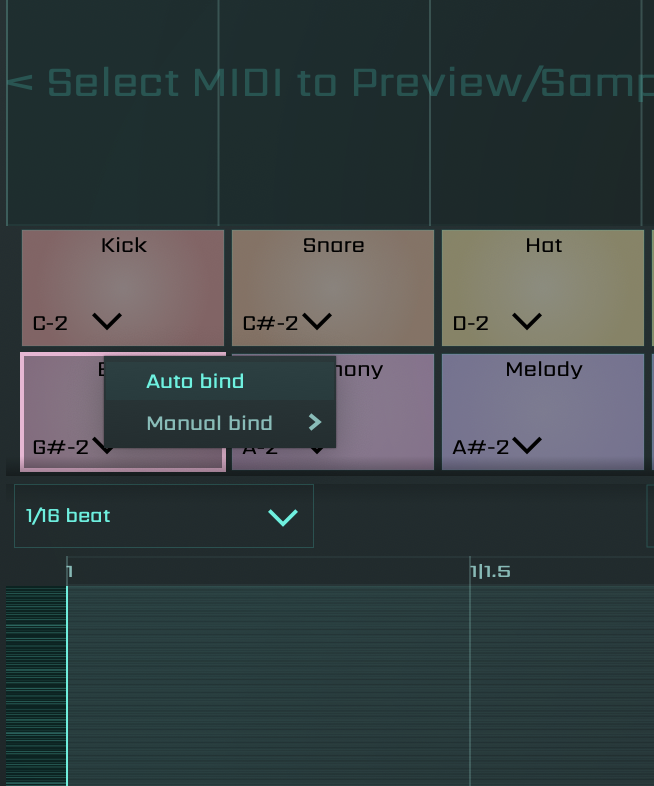
After opting for 'Auto bind' from the popup menu, you will observe that the currently displayed note map number temporarily changes to red.
This color shift signifies that it is ready to receive a note. At this point, you simply press any note on your MIDI keyboard or pad controller to initiate automatic binding. When you see the note displayed on the pad change to your desired note, you finalize the selection by clicking on the pad. This process allows you to map your preferences quickly and effortlessly, ensuring a smooth workflow and promoting creativity.
Manual Bind
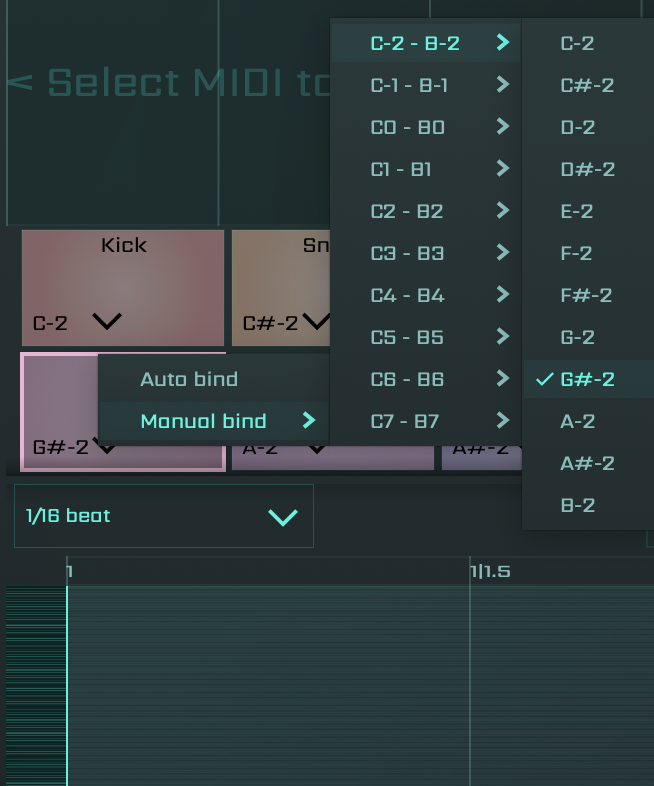
On the other hand, the 'Manual bind' option provides an alternative way to customize your selection. With this option, you can find the desired note map number by exploring submenus within the popup menu. These submenus consist of note ranges, allowing you to fine-tune your selection. The manual bind method caters to those who prefer a more hands-on approach to their MIDI mapping, offering greater control over individual note assignment.
Rearranging Pads
In the Grid section, you have the flexibility to adapt to your workflow by rearranging pads. By clicking and dragging a pad, you can swap its position with another within the grid. This interchanging of positions allows you to experiment with different layouts and discover an arrangement that aligns best with your creative process.
The interconnectivity between the Grid and the Editor sections of the plugin means that you can select a pad in the Grid and then immediately jump into the Editor to modify individual notes. This seamless transition between the two sections fosters an efficient workflow and allows for real-time adjustments, further enhancing the creative process.
Let's move forward to the next section of the user interface to delve into the intricacies of the Editor.