reMIDI 3 User Guide
reMIDI 3 User Guide
Introduction
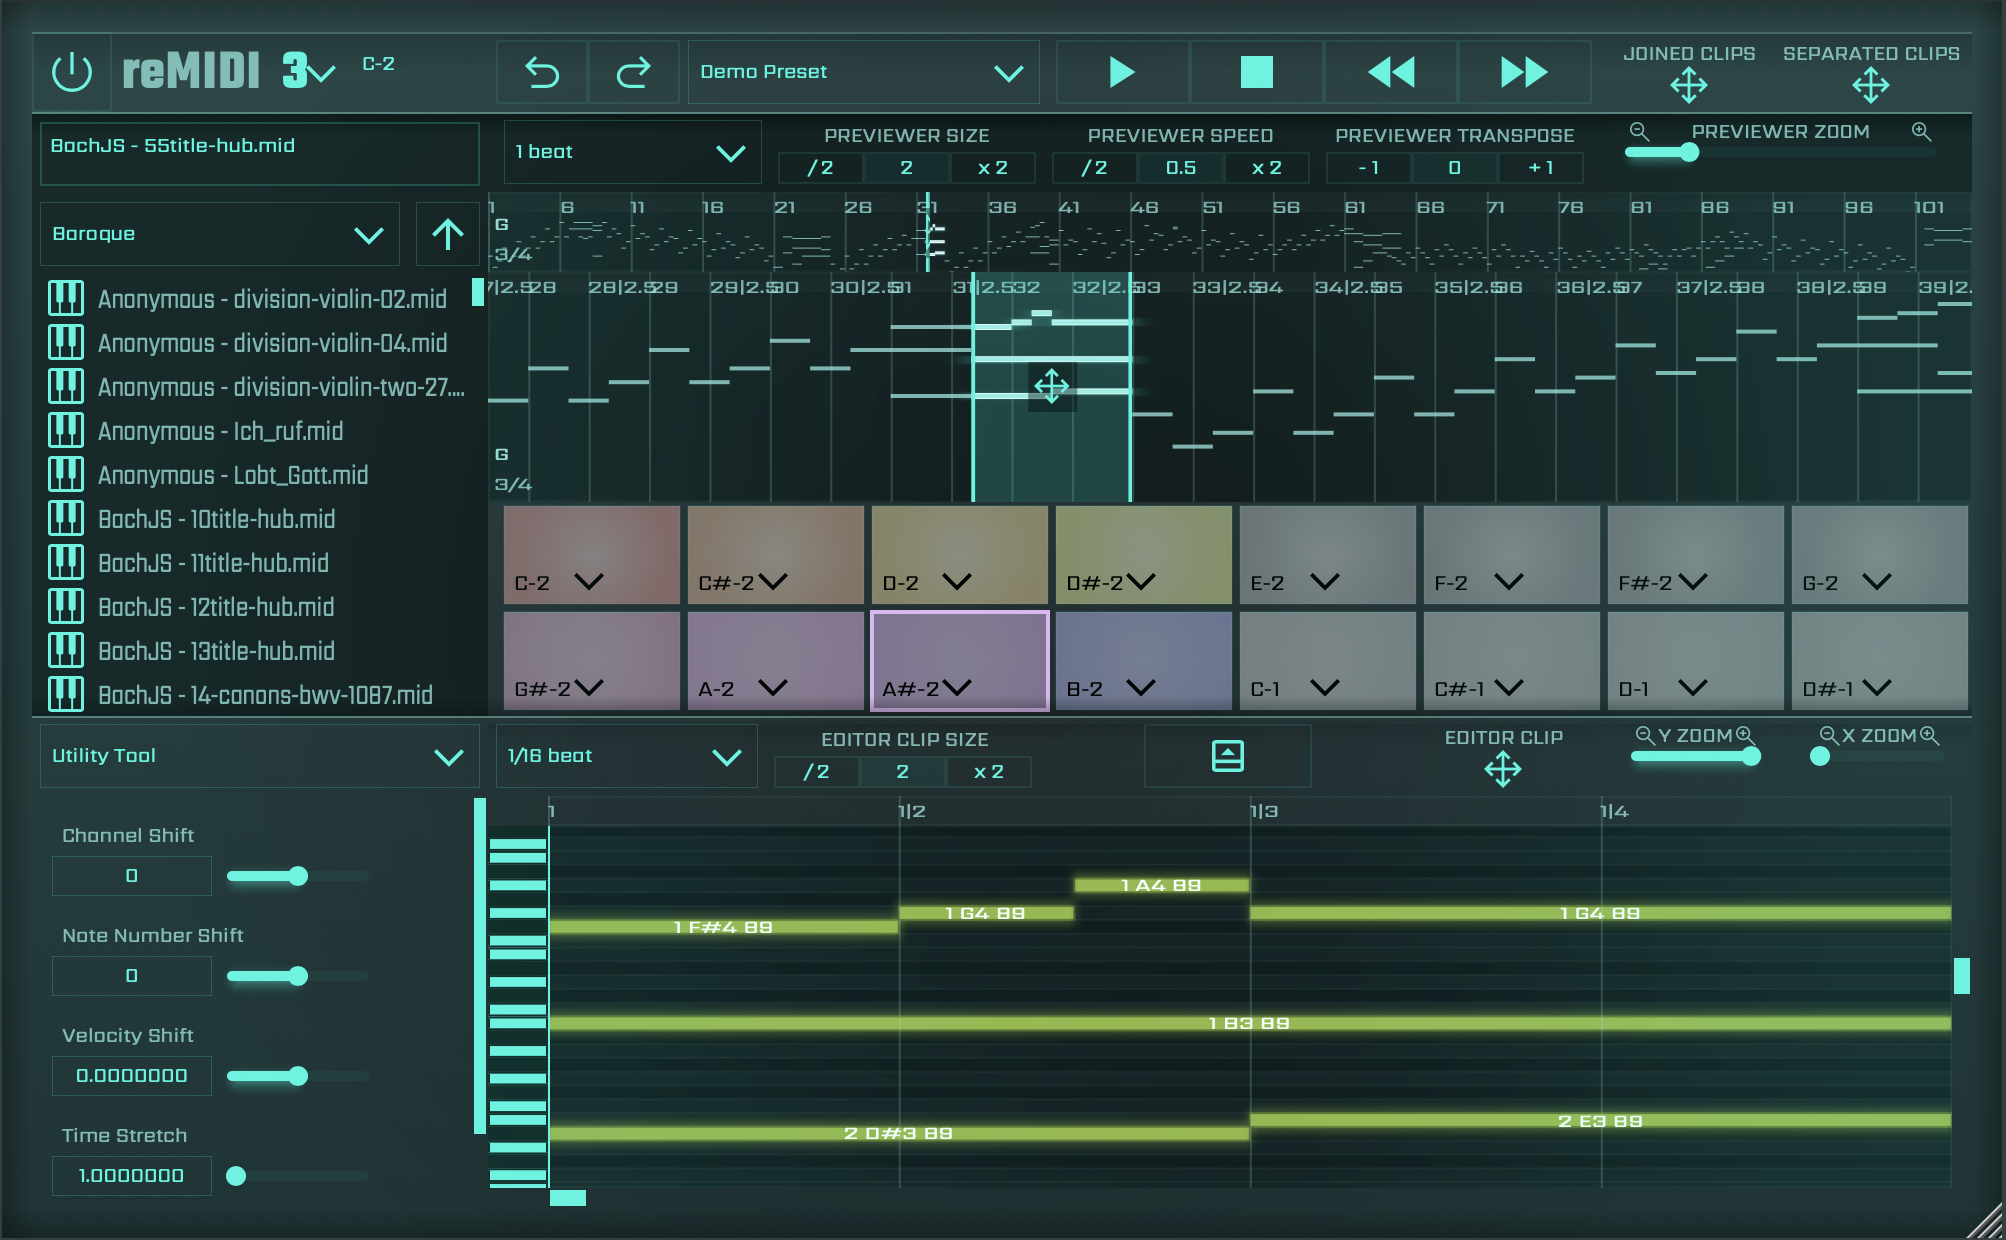
Welcome to reMIDI 3, your advanced tool for MIDI manipulation, crafted to enhance your music production journey. This user-friendly interface provides a range of features designed for efficient interaction with MIDI sequences, supporting your creative process at any experience level. In this guide, you'll find resources and instructions to help you unlock the full capabilities of reMIDI 3. Explore an extensive library of MIDI files, loop packs, and innovative tools to harmonize chords and develop unique compositions. reMIDI 3 is here to elevate your music production, offering new creative possibilities and refined control over your musical creations. Embrace the power of reMIDI 3 and bring your musical visions to life with confidence and ease.

Getting Started
Loading reMIDI 3
To start using reMIDI 3, load it into your preferred Digital Audio Workstation (DAW) by selecting the compatible VST or AU format. Whether you're using FL Studio, Ableton Live, Logic Pro, or any other DAW, the subsequent section (MIDI Routing in your DAW) will guide you through the setup process in a software instrument track. For other DAWs, refer to their specific manuals for instructions on adding virtual instruments to tracks. Note that in some DAWs, reMIDI 3 may be listed under the manufacturer's name (SongWish Inc.) > reMIDI 3.
Understanding reMIDI 3 & reMIDI 3 MFX
This audio plugin is a MIDI generator and comes in two versions: the main version and an AU MIDI Controlled Effect (MFX) version. The key difference between the two is how they set up external instruments. If you're using a Digital Audio Workstation (DAW) with Audio Unit (AU) compatibility, such as Logic Pro, then the MFX version is the one to go for. Now that you know the basics, let's dive into the advanced features of reMIDI!
Controlling an external instrument
Learn how to manipulate external instruments with reMIDI 3's MIDI routing capabilities. The next section will guide you through the steps to route reMIDI 3 as a MIDI generator plugin inside your DAW.
